LEMON & GARLIC SOURDOUGH BREAD

Make delicious Lemon & Garlic Sourdough Bread easily in minutes!

INGREDIENTS:

TOOLS:

  • Oven

  • Baking Tray

  • Small Sauce Pot

  • Lemon Zester

  • Serrated Knife

  • Pastry Brush

  • Garlic Press

  • Spoon

  • Tin Foil

  • Oven Mitts or Tongs

  • Cutting Board

INSTRUCTIONS:

Turn your oven on to 400 F.

Add butter and garlic to a small sauce pan on low heat, allow butter to melt. Remove from heat as soon as butter is melted, add lemon zest and stir.

Slice your sourdough baguette length wise with a serrated knife. Then with a pastry brush, brush the melted butter on to the inside of the baguette.

Close the butter sides of the baguette back together. Wrap the baguette in tin foil and place on a baking tray in the center of your oven.

Bake for 15-20 mins. Carefully remove the Garlic Bread from the oven, wear oven mitts or use tongs to remove the tin foil from around the outside (Caution! Hot!).

Transfer your Garlic Bread to a cutting board and slice into pieces.

Enjoy!

Note: If you like a crispier center remove the tin foil, pop the garlic bread back into the oven with the buttered sides open and bake for another 5 minutes. Keep an eye on it so the garlic and lemon zest doesn’t burn!

60A3FBD5-1F3A-47B4-89EE-5779BD25B9D4_1_105_c.jpeg
DFE51F2E-8EF3-464F-B6C7-60637515DD31_1_105_c.jpeg
3F675E41-CAA9-4B9E-A83C-D4A8F0FF50E3_1_105_c.jpeg

ROASTED GARLIC SEA SALT by Vancouver Island Salt Co.

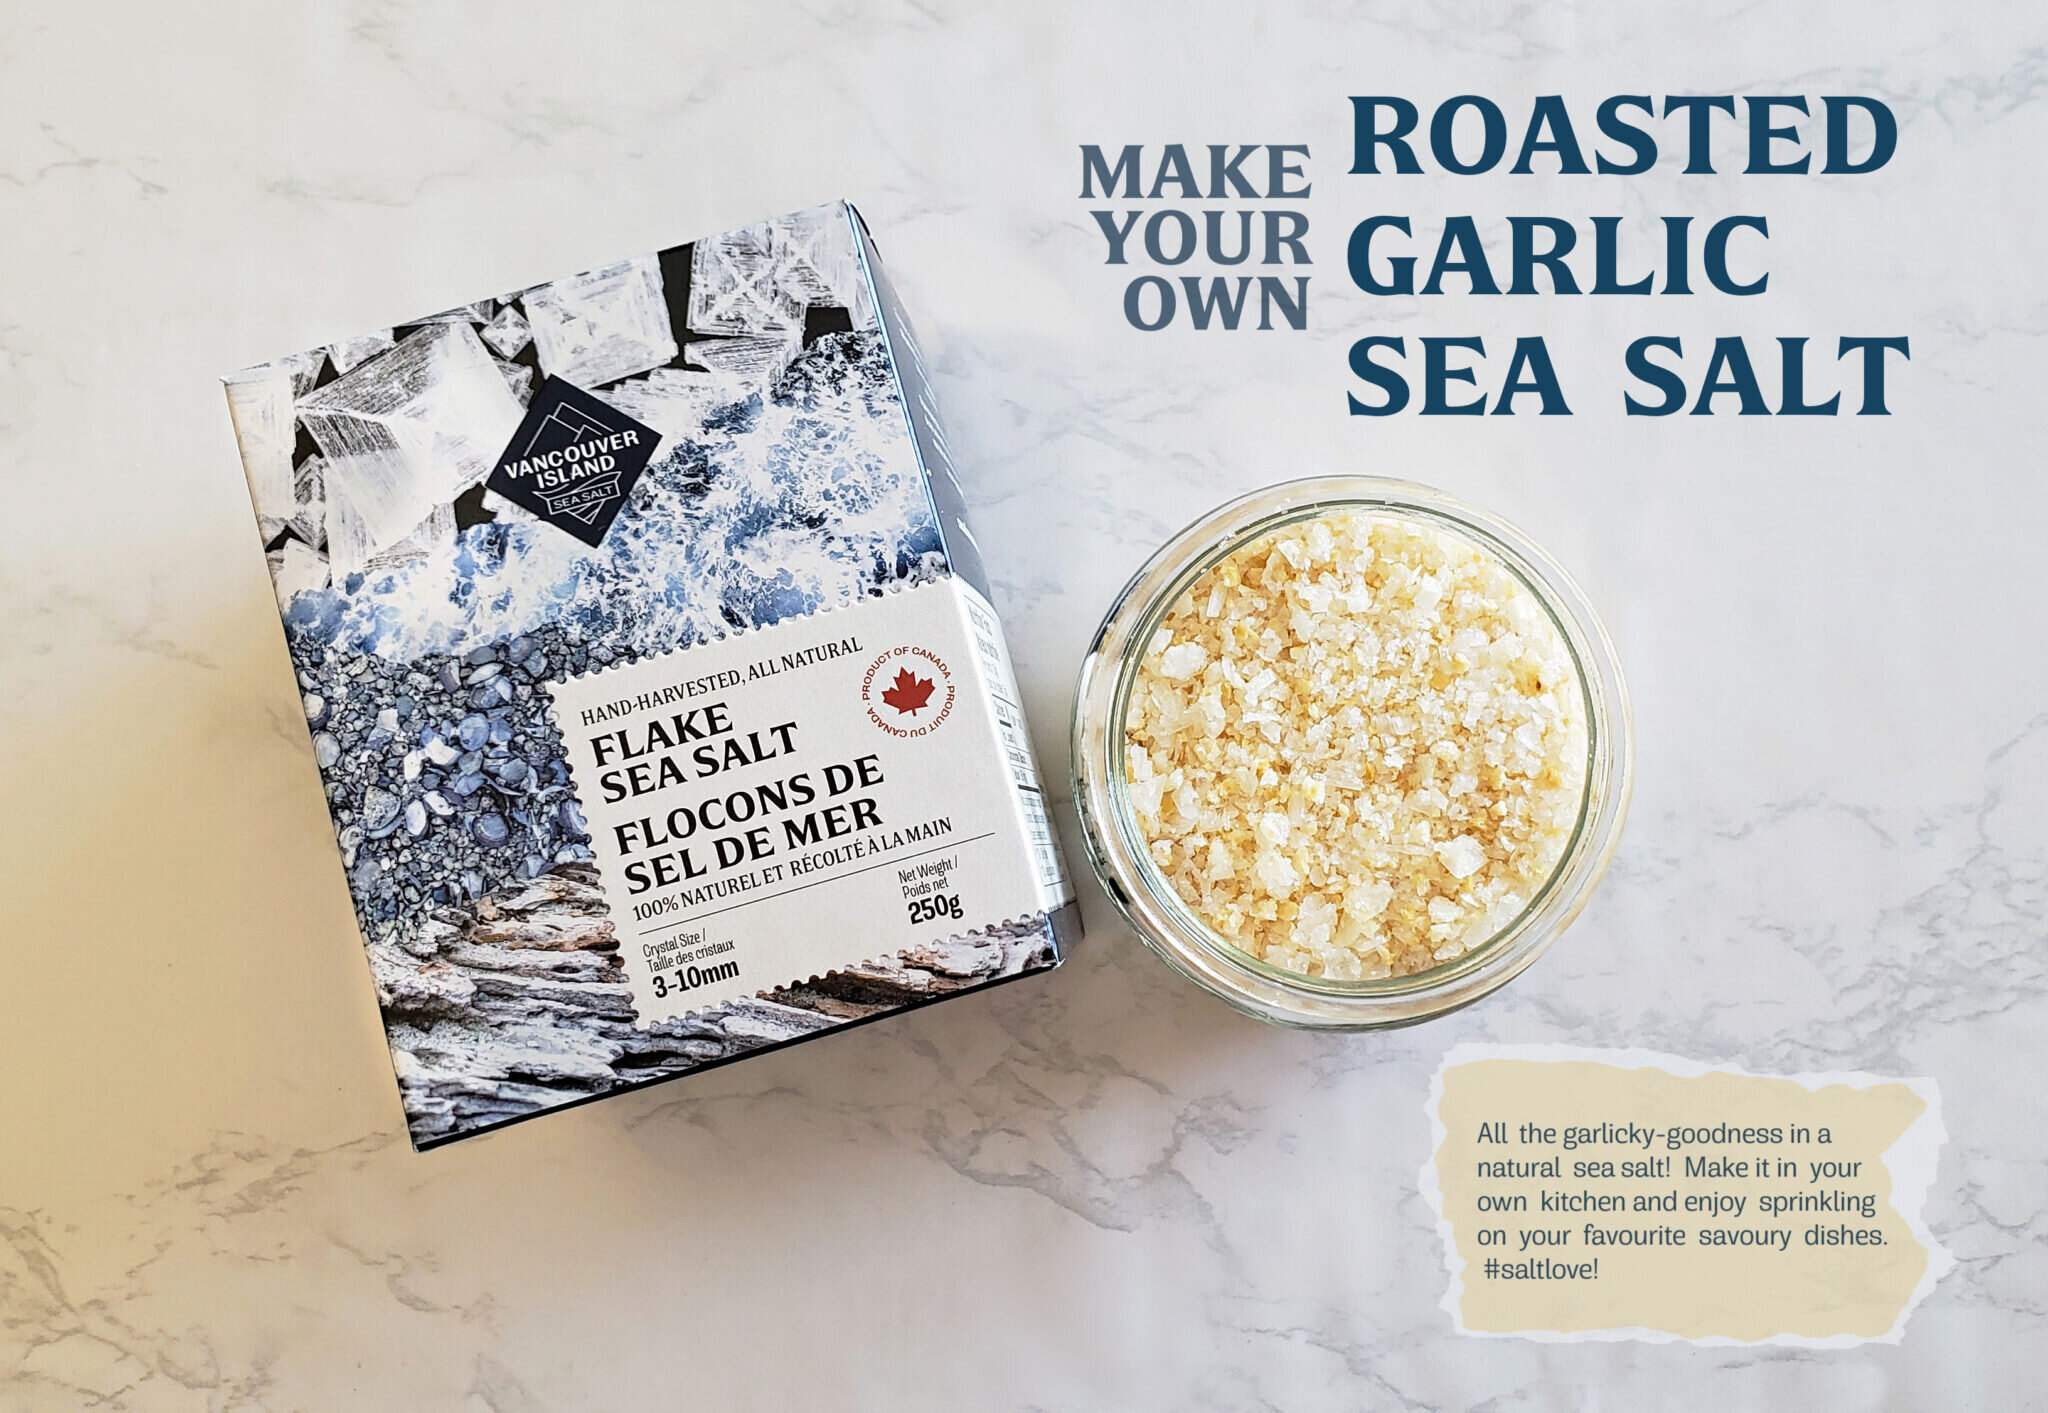
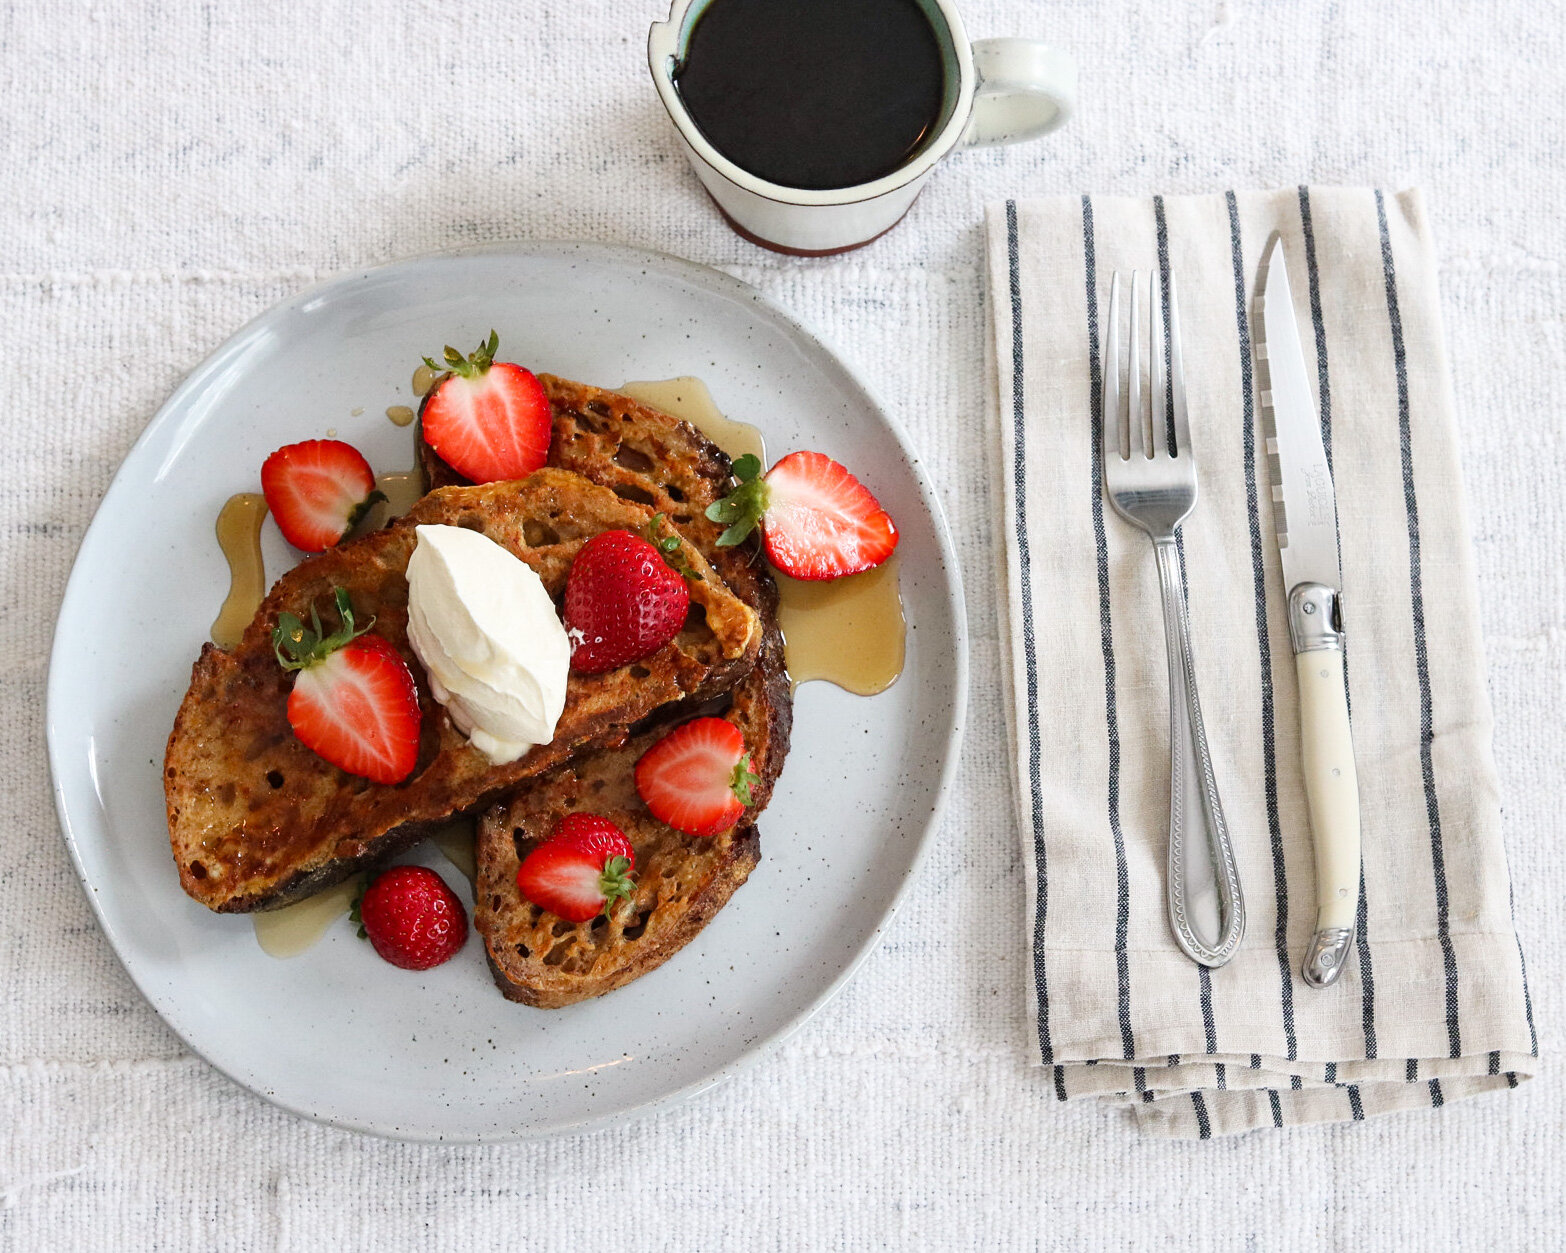
Make your own Vancouver Island Salt Co. infused finishing salt in your oven at home! This recipe only requires two ingredients and is absolutely perfect sprinkled over homemade pizza, avocado toast, soups or pasta.

Good to know before you start → To make your own garlic puree grate garlic cloves using a fine microplane (save the juice!). When roasting the salt and garlic (one of the last steps) you’ll get the best results if roasting is done slowly and at a low temperature. Last but not least, as with any recipe, the higher quality the ingredients you use the better the results will be. We suggest using organic locally grown garlic from your local farmers market and Vancouver Island Salt Co. large flake salt crystals.

Purchase a 75g Jar of Large Flake Sea Salt here.

Purchase a 250g Box of Large Flake Sea Salt here.

INGREDIENTS:

2 x Tbsp Pureed Garlic (liquid included)

1 x Tbsp Minced Garlic

1 x Cup Flake Sea Salt

INSTRUCTIONS:

  1. Turn your oven on to it’s lowest setting (170 F) with the convection fan on.

  2. Combine all 3 ingredients together in a bowl and mix until everything is combined thoroughly.

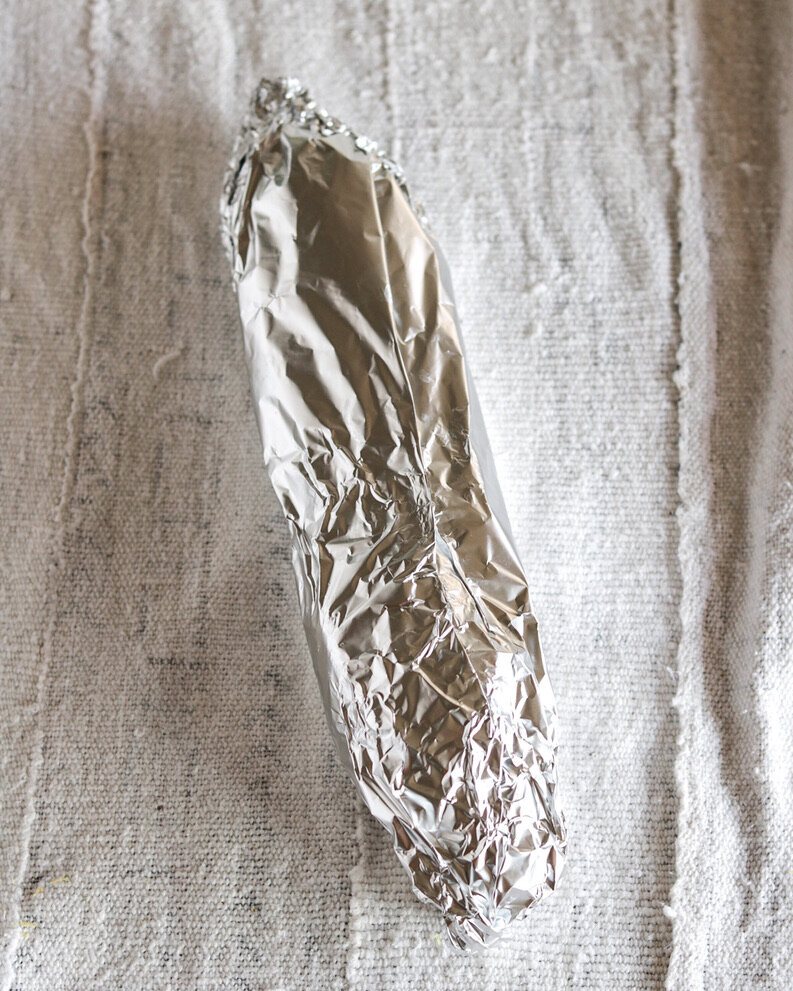
  3. On a baking tray lined with parchment or in a glass baking dish, spread the salt mixture evenly over the pan.

  4. Bake for 30 minutes. Remove the salt from the oven and break up any clumps that may have formed. Place back in the oven and bake for another 2.5 - 3 hours, stirring every 30 minutes and breaking up and clumps that may form.

  5. Remove from the oven when the garlic bits are golden brown and the salt flakes are dry. It is important to ensure the salt is dried out throughly so its shelf life is extended.

  6. Once cooled, store your finished Roasted Garlic Sea Salt in an air tight container. Expected shelf life is 1 month.

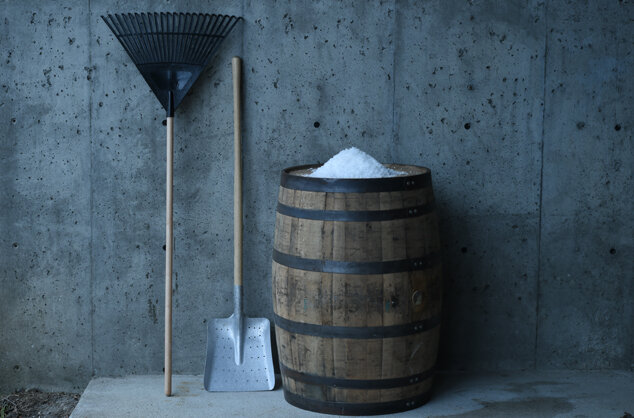
Vancouver Island Salt Co. prides itself on producing world class sea salt containing over 30 trace minerals. Partnered with Ocean Wise, their salt is produced responsibly and with respect to the environment. Located off the coast of Vancouver Island in a town called Oyster Bay their salt harvestry sits halfway between the vibrant shellfish coast of Comox and the ‘Salmon Capital of the World’, Campbell River. The surrounding waters are glacier fed and bordered by old growth forests, keeping their water source clean and unspoilt.

Their sustainable production collect water at the exact point where the currents from the South of Vancouver Island meet the strong, cold currents from the North, making for a spectacular blending of minerals and fresh pure flavours.

SOURDOUGH FRENCH TOAST RECIPE

French Toast is definitely a favourite around here! Try this recipe with our house or chocolate sourdough.

If you’re not ready to make French Toast the same day you purchase your sourdough, you can freeze it! If frozen, allow your bread to thaw for 4-ish hours at room temperature.

INGREDIENTS:

1 x Sourdough Loaf

3 x Tbsp Butter

3 x Eggs (we recommend farm fresh)

1 x Cup of Milk (2% EcoDairy)

1 x Tsp Vanilla Extract

1 x Tsp Cinnamon

1/4 x Tsp Nutmeg

1 x pinch of Salt

OUR TOPPING SUGGESTIONS:

Creme Fresh

Whipped Cream

Maple Syrup

Berries (Blueberries, Strawberries, etc.)

INSTRUCTIONS:

  1. If frozen, allow bread to thaw for 4-5 hours at room temperature.

  2. Set your oven temperature to 150F, while your oven is warming slice the bread into slices.

  3. Whisk together eggs, milk, vanilla, cinnamon, nutmeg and salt.

  4. In a shallow bowl or lipped plate, soak each slice of bread in the egg mixture until saturated on both sides.

  5. Using medium heat, melt about 2 tsp of butter in the pan and place 2 soaked bread slices on to your hot pan. Cook each side for 2-3 minutes or until golden brown.

  6. Put cooked French Toast into the oven on a baking sheet to keep it warm while cooking the next batch in your pan.

  7. Continue steps 4, 5 and 6 until all of your French Toast pieces are cooked.

✪ Serve warm French Toast with your favourite toppings, we love topping ours with creme fresh, maple syrup and a handful of berries. Be sure to tag us on Instagram if you try our recipe!

SOURDOUGH PIZZA AT HOME

Okay, so you’ve purchased 500g of Sourdough Pizza Dough from us, now what?

You probably have visions of tossing your pizza dough in the air to form a perfect circle and catching it on your pinky while gesturing air kisses with the other hand and yelling “delizioso” to your dog. We don’t blame you and we encourage video footage of your attempts.

But before you set up your video production and pull out your chefs hat, we’ve put together some pizza guidance and best practises for our dough.

Our 500g Sourdough Pizza Dough is perfect for making pizza at home with all your favourite toppings. 

Our Pizza Dough can be stored frozen! Just take the dough out of the freezer and put it in the fridge the night before you want to bake it so it has time to thaw out slowly. 

Pizza Guidance:

  1. Turn oven on to 475 F 

  2. Divide dough into 2 smaller dough balls or keep dough whole to make 1 large pizza. 

  3. Flour your hands, the surface you’re working on and the top of your pizza dough. Use one of 3 methods to shape your dough.

    1. The stretching method, holding the dough in the air allow gravity to pull the dough thinner as you turn it in your hands to create your pizza's shape. Do this until the dough is almost see through.

    2. Use a floured surface and rolling pin, we recommend throwing some flour on to your counter and on the top of the dough. Roll the dough into your desired pizza shape.

    3. Mentioned earlier, the ol’ toss and spin is an option for the more advanced among us. You start with the stretching method then place your fists under the open dough and push up into the air with a spin in your wrist. It may be tempting to close your eyes but we recommend you don’t! ;)

    Once the dough is the desired shape and thickness place it directly on a floured baking tray or in a preheated cast-iron pan.

  4. Brush olive oil onto crust and spread pizza sauce and your favourite toppings evenly around the pizza. 

  5. Bake for 12-15 minutes on the bottom rack of your oven, keep an eye on your pizza and adjust cooking time as necessary. 

  6. Carefully remove from oven and slice into pieces.

  7. Once sliced, we recommend a sprinkle of salt & pepper and a handful of fresh herbs like basil or fresh oregano to add a little something extra.

Enjoy! And don’t forget to tag us in your pizza dough creations!